
The Ultimate Guide to Wall Mounted Examination Lights: Selection, Benefits & Installation
In clinical and diagnostic settings, precise illumination is not a luxury—it’s a necessity. For healthcare professionals, veterinarians, and aestheticians, the quality of light can directly impact diagnostic accuracy, procedural success, and patient comfort. While portable and ceiling-mounted options exist, the wall mounted Examination Light stands out as a cornerstone of efficient, ergonomic, and clean workspace design. This guide draws on industry specifications, installation experience, and clinical insights to move beyond basic product descriptions. We will provide a comprehensive resource to help you understand the critical features, tangible benefits, and key considerations for selecting and implementing the ideal system for your specific professional needs, ensuring optimal outcomes for both patient and practitioner.
What is a Wall Mounted Examination Light? Core Function & Design
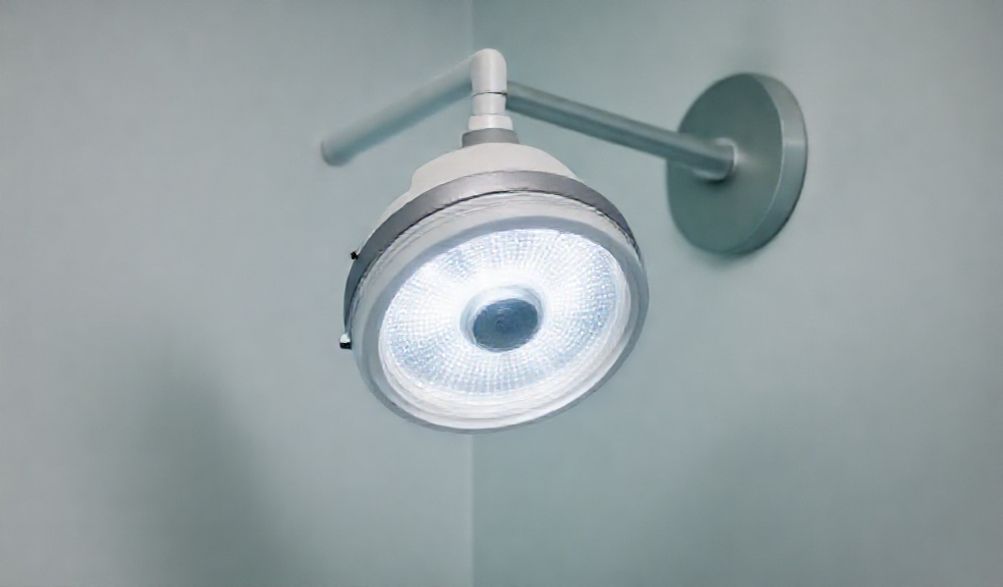
At its core, a wall mounted examination light is a specialized medical-grade lighting fixture permanently affixed to a wall via an articulated arm. Its primary function is to deliver intense, shadow-reduced, and color-accurate illumination to a specific area, typically an exam table, procedure chair, or surgical site. Unlike floor stands, it saves crucial floor space, and unlike overhead room lighting, it offers direct, adjustable task lighting.
Primary Purpose and Clinical Applications
The versatility of a wall mounted examination light makes it indispensable across numerous fields:
- General Patient Exams: For thorough physical assessments in primary care, dermatology, or ENT, where observing skin texture, color, and subtle details is paramount.
- Minor Surgical & Procedure Suites: Provides focused, bright light for suturing, lesion removal, wound debridement, and other outpatient procedures, often requiring excellent shadow control.
- Wound Inspection & Dressing Changes: Enables clear visualization of wound beds, granulation tissue, and signs of infection with accurate color rendering.
- Dental Checks: Specialized dental versions offer focused beams for intraoral illumination, often working in tandem with overhead dental lights.
- Veterinary Applications: Used in exam rooms and surgical suites for animal patients, with designs often featuring reinforced arms and protective covers.
- Aesthetic Treatments & Tattoo Studios: Critical for procedures like Botox injections, filler placement, microblading, and tattooing, where precise pigment and contour visualization is essential.
The unifying need across all applications is the reduction of shadows and the faithful reproduction of true tissue color, allowing for confident diagnosis and treatment.
Key Design Components Explained
Understanding the anatomy of a wall mounted examination light clarifies its capabilities:
- Wall Bracket & Arm Assembly: This is the foundation. A robust mounting plate secures to wall studs. Attached is a series of articulated arms (often 2-4 sections) with rotational joints. These arms provide multiple degrees of freedom—pan, tilt, rotation, and extension—allowing the light head to be positioned precisely over the target area and then retracted neatly against the wall when not in use. High-quality units feature gas springs or constant-force mechanisms for smooth, effortless movement that stays in position.
- The Light Head: The business end of the unit. Modern systems exclusively use LED arrays for their efficiency, longevity, and cool operation. The LEDs are arranged with specialized reflectors or lenses to shape the beam, creating a bright, even field of light with minimal glare and hotspotting. The head design is crucial for shadow reduction; some use ring-shaped LED arrays or dual light sources to fill in shadows cast by the practitioner’s hands or tools.
- Control Interface: Typically located on the light head or at a joint for easy access. Basic controls include an on/off switch and a dimmer for adjusting intensity (measured in Lux or foot-candles). Advanced models feature color temperature adjustment (e.g., from 3000K warm white to 6000K cool daylight), allowing the practitioner to tailor the light to the specific task, enhancing contrast or comfort.
Critical Advantages of Choosing a Wall Mounted System
Choosing a wall mounted examination light over alternative styles offers a suite of practical benefits that directly impact daily operations.
Maximizing Workspace Efficiency and Cleanliness
In often-cramped clinical rooms, floor space is at a premium. A wall mounted system eliminates the bulky base of a floor stand, freeing up valuable real estate for mobile equipment, stools, or additional storage. This creates a less cluttered, more professional environment. From an infection control perspective, wall mounting is superior. With no floor contact, there are fewer places for dust, contaminants, or fluids to collect. The entire area under and around the procedure zone is easier to clean and maintain to sterile standards.
Enhancing Practitioner Ergonomics and Workflow
Fatigue and strain are real concerns for professionals who perform repetitive tasks. A high-quality wall mounted examination light dramatically improves ergonomics. The smooth, multi-axis articulation allows the light to be positioned perfectly with minimal physical effort—no awkward reaching or wrestling with a heavy floor stand. This “always-available” dedicated light source streamlines workflow; the practitioner can quickly adjust the light between steps without breaking sterility or concentration, leading to more efficient procedures and reduced physical strain over long days.
Durability, Safety, and Long-Term Value
These lights are built for demanding, high-traffic environments. Commercial-grade materials and robust construction ensure they withstand constant adjustment and cleaning for years. Key safety features are integral:
* Cool-Touch Technology: LEDs emit minimal heat, preventing burns to patients or practitioners even after prolonged use.
* Secure Locking Mechanisms: Positive locks at each joint prevent accidental droop or movement during critical procedures.
* Medical Electrical Safety: Reputable lights comply with international standards like IEC 60601-1, ensuring protection against electrical shock in medical environments.
While the initial investment may be higher than a basic lamp, the combination of LED longevity (tens of thousands of hours), reduced maintenance, and durable mechanics offers exceptional long-term value and a lower total cost of ownership.
How to Choose the Right Wall Mounted Examination Light: A Buyer’s Checklist
Selecting the perfect light requires matching technical specs to your clinical needs. Use this checklist to guide your evaluation.
Assessing Technical Specifications: Lumens, CRI, and Color Temperature
- Illuminance (Lux/Foot-Candles): This is the measure of light intensity on the surface. General exams may require 2,000-5,000 Lux, while detailed surgical procedures need 10,000 Lux or more. Ensure the light provides adequate, even intensity across its entire field.
- Color Rendering Index (CRI): This is arguably the most critical spec for clinical use. CRI measures a light’s ability to reveal the true colors of objects compared to natural light. A CRI of 90+ is essential for accurately assessing skin tones, tissue viability, bruising, erythema, and jaundice. Never compromise on high CRI for diagnostic or aesthetic work.
- Color Temperature (Kelvin – K): Measured in Kelvins, this describes the light’s “warmth” or “coolness.”
- Warm White (3000K-4000K): Softer, easier on the eyes for longer exams; can enhance contrast of red/blue vasculature.
- Cool White/Daylight (5000K-6500K): Bright and invigorating; provides excellent overall clarity and is often preferred for surgical precision. Models with adjustable color temperature offer the ultimate flexibility.
Evaluating Mechanical Features: Reach, Articulation, and Mounting
- Reach and Articulation: Measure the distance from your intended wall mount point to the center of your exam area. The light’s horizontal reach must comfortably cover this distance. Check its vertical range to ensure it can be positioned high enough to get out of the way and low enough for close work. More joints mean greater positioning flexibility.
- Mounting Type: Options include a fixed wall mount (single point) or a horizontal track/rail system. The latter allows the light to be slid side-to-side along the rail, offering coverage for multiple tables or a wider area from a single mounting point.
- Stability and Weight: The arm should feel solid and move smoothly without wobble. It must hold its position securely once released.
Matching the Light to Your Specific Professional Environment
- Medical Exam Rooms: Prioritize versatility, good CRI, and a medium intensity range (5,000-10,000 Lux). Easy maneuverability for quick adjustments during full-body exams is key.
- Minor Procedure/Surgical Suites: Focus on high intensity (15,000+ Lux), exceptional shadow reduction (look for multi-point or ring light designs), and a sterilizable light head. Stability is non-negotiable.
- Dental & Veterinary Practices: Dental lights need smaller, focused heads. Veterinary lights require extra-durable arms and possibly scratch-resistant covers to withstand unpredictable movement. High CRI is vital for assessing gum health and tissue.
- Aesthetician & Tattoo Studios: Color accuracy is paramount—CRI >95 is ideal. Adjustable color temperature is highly beneficial for matching natural daylight when evaluating pigments and results. Dimmability allows for adjusting to client comfort.
Professional Installation and Maintenance Best Practices
Proper setup and care ensure safety, performance, and longevity.
Pre-Installation Planning: Location, Height, and Workflow
- Location: The mounting point should be positioned so the light’s fully extended arc comfortably covers the entire primary exam/procedure area. Consider the path of the arm to ensure it doesn’t collide with cabinets, monitors, or other wall-mounted equipment.
- Height: A typical starting point is to mount the bracket 5.5 to 6.5 feet (1.7-2 meters) above the floor, but this depends on arm length and table height. Mock-up the position if possible.
- Professional Installation: This is crucial. While plug-in models seem simple, the mounting bracket must be securely anchored into wall studs to support the dynamic load of the extended arm. Hardwired models MUST be installed by a licensed electrician to ensure compliance with National Electrical Code (NEC), local medical facility codes, and the safety standards (like IEC 60601-1) for which the light was designed.
Routine Care and Cleaning for Longevity
- Cleaning: Follow the manufacturer’s instructions. Typically, the light head and arms can be wiped down daily with a soft cloth dampened with a mild disinfectant or isopropyl alcohol (70%). Avoid abrasive cleaners or spraying liquid directly onto joints or controls.
- Maintenance: Periodically check the tension of the arm joints. Most systems allow for re-tensioning to restore smooth, drift-free movement. Visually inspect the power cord (if applicable) and plug for damage. Listen for any unusual sounds in the arm mechanisms.
Frequently Asked Questions (FAQ)
Q: What is the typical lifespan of an LED wall mounted exam light?
A: The LED light source itself in a high-quality fixture is typically rated for 50,000 to 100,000 hours of use—translating to decades of normal clinical operation. The more common reason for eventual replacement is mechanical wear on the springs and joints of the articulated arms, not LED failure.
Q: Can I install a wall mounted light myself, or do I need an electrician?
A: It depends on the model’s power source. Plug-in units with a standard cord may be a DIY project only if you are confident in securely mounting the heavy-duty bracket into wall studs. However, any hardwired model must absolutely be installed by a licensed electrician to ensure compliance with local commercial/medical electrical codes and to maintain the unit’s safety certification.
Q: How important is Color Rendering Index (CRI) for examination lights?
A: Extremely important. For any task involving diagnosis, color assessment, or aesthetic work, a CRI of 90 or higher is strongly recommended, with 95+ being ideal. A high CRI ensures that the colors of skin, tissue, blood, bruising, and pigments are rendered truthfully, which is critical for accurate clinical judgment and optimal results.
Q: Are there lights designed for specialized fields like dentistry or veterinary medicine?
A: Yes. Manufacturers often design variants for specific fields. Dental exam lights might feature smaller, pencil-style heads for intraoral illumination. Veterinary-specific lights are built with exceptionally robust arms, heavier-duty joints, and sometimes protective rubber or silicone covers to withstand contact with animals. Always specify your professional field when consulting with suppliers.
Conclusion
Selecting a wall mounted examination light is a significant decision that impacts daily practice, diagnostic confidence, and long-term facility efficiency. It is an investment in the quality of care you provide. By prioritizing key factors such as high CRI for diagnostic accuracy, ergonomic articulation for practitioner comfort, and robust, safety-certified construction for durability, you choose more than just a light—you choose a foundational tool for professional, effective patient care.
We recommend using the detailed checklist in this guide to systematically evaluate your options. Consult with reputable medical equipment suppliers who understand clinical workflows and can provide verified specification sheets. Always prioritize products with clear safety certifications. The right illumination transforms a workspace, enhancing both outcomes for your patients and the well-being of your practice.
p>